

Most inventors have a great idea but no clear path forward. The gap between "I thought of something" and "I built something people want to buy" is where most inventions die. These diy invention development steps exist to close that gap. This guide walks you through five structured phases: documenting your idea, validating market demand, prototyping affordably, protecting your IP, and building a business plan that actually reflects reality. Each step is practical, sequential, and designed for creators working without a full technical team or a large budget.
Table of Contents
- Key takeaways
- 1. Conceptualizing and documenting your invention idea
- 2. Conducting product and market research to validate your idea
- 3. Designing and prototyping your invention affordably
- 4. Protecting your invention through provisional patents
- 5. Developing a simple business plan and validating market readiness
- My honest take on the DIY invention journey
- Take your next step with Inventifystudios
- FAQ
Key takeaways
| Point | Details |
|---|---|
| Document before you build | Write detailed descriptions and sketches before touching materials to protect your IP and clarify your thinking. |
| Validate the problem, not just the idea | Research whether your invention solves a real, current market need before investing in prototypes. |
| Build cheap prototypes fast | Use off-the-shelf parts and cardboard models to test core assumptions within days, not months. |
| File a provisional patent early | Secure 12 months of patent pending status to protect your rights while refining and pitching. |
| Business plan grounds your strategy | A focused plan covering product-market fit and financials keeps your invention on a realistic path. |
1. Conceptualizing and documenting your invention idea
Every invention starts with a problem. Not a vague frustration, but a specific, repeatable situation where existing solutions fall short. The clearest sign you have found a real problem is watching people invent workarounds in their daily lives. When someone uses a rubber band, a stack of books, or a workaround app to solve a problem your product could solve cleanly, that is your signal. Workarounds are not signs that a product idea is unnecessary. They are proof that the need exists and the market is already self-solving badly.
Once you have that problem clearly defined, your first real job is documentation. This is not just about having notes. It is about building a record that protects your intellectual property and helps you track how your idea evolves over time.
Here is what effective invention documentation includes:
- Written problem statement. One or two clear sentences describing the exact problem, who experiences it, and how often.
- Proposed solution. A plain-language description of how your invention solves that problem.
- Sketches and diagrams. Hand drawings work fine at this stage. Label components and show how they interact.
- Alternative approaches. Write down other ways you considered solving the problem. This shows the scope of your thinking and strengthens IP claims.
- Potential use cases. Who else might use this? What industries could benefit?
- Date stamps. Every entry should be dated. This creates a timeline that matters legally.
If you use AI tools to help draft your invention disclosure, treat them as editors only. Inventors must author the problem definition and solution themselves. AI-generated disclosures risk genericizing your innovation and weakening future patent claims. Write the core substance yourself, then use AI to clean up the language.
Pro Tip: Create a dedicated invention journal, either a physical notebook or a locked digital document, and date every entry. If you ever need to establish priority or defend your original concept, this record is your evidence.
You can explore invention documentation processes in more depth to understand how proper records connect directly to patent filing outcomes.
2. Conducting product and market research to validate your idea
Here is where most first-time inventors skip ahead too fast. They assume the problem they identified is the same problem the market is experiencing right now. That assumption is often wrong, and it is expensive to discover late.
The first task is a prior art search. Look at existing patents (use Google Patents or the USPTO database), search Amazon and retail catalogs for similar products, and study what competitors have built. If something close exists, that is not necessarily bad news. It tells you what has already been tried, what gaps remain, and how crowded the space is.
Then ask yourself a harder question: is your invention a painkiller or a vitamin? A painkiller solves a problem people urgently need solved. A vitamin is nice to have but easy to skip. Painkillers attract buyers. Vitamins attract skeptics. The honest answer shapes how you develop, price, and pitch your invention.
Market assumptions also go stale. Challenge your core problem definition at least once a year. Markets shift. Competitors solve problems you thought were untouched. What was a clear gap two years ago might already be filled, or might have evolved into a different problem entirely.
Use your research to answer these questions directly:
- Who are your top three competitors, and what do they get wrong?
- What do potential customers currently use to solve this problem?
- What would make someone switch to your solution?
- What is the realistic size of your addressable market?
This research does not just validate your idea. It strengthens your diy invention business plan steps and gives you credible data to use with investors later.
3. Designing and prototyping your invention affordably
The goal of your first prototype is not to impress anyone. It is to break your own assumptions as fast as possible.

Most experienced inventors follow a simple rule: build the cheapest prototype you can, focused only on testing the riskiest features, within a one-week window. Cardboard, foam, zip ties, and off-the-shelf hardware components are your best friends here. A scrappy proof-of-concept that tests your core mechanism is worth more than a polished model that only proves you can make something look good.
Here is what your early design process should include:
- Hand sketches with dimensions. Even rough drawings help you spot design problems before you build anything.
- CAD or digital modeling. Free tools like Tinkercad or Fusion 360 let you visualize 3D shapes without expensive software.
- Bill of materials. List every component you need, where to get it, and approximate cost.
- Prototype version log. Number each iteration and note what you changed and why.
After your first rough build, test it against the actual problem. Does it do what you claimed? If not, what specifically failed? Change one variable at a time. This is rapid iteration, and it is the method that keeps you from burning money on the wrong design direction.
Pro Tip: Do not try to make your prototype pretty until you have confirmed it works as intended. Aesthetic polish before functional validation is one of the most common and costly mistakes in diy product creation.
For non-technical inventors managing this process without a dedicated team, non-technical founder guidance on product development can help you make smarter decisions about when to bring in outside help versus handling steps yourself.
Inventifystudios also offers AI-generated 3D prototypes that can accelerate this phase dramatically. You can go from a written concept to a visual model in minutes, which helps you spot design issues before spending a dollar on physical materials.
4. Protecting your invention through provisional patents
A provisional patent application (PPA) is one of the most strategic tools available to a DIY inventor. Filing one gives you 12 months of patent pending status. During that window, you can refine your design, test the market, and approach investors without giving up your priority date. That priority date is what establishes your legal claim to the invention concept.
Here is what a complete provisional patent application requires:
| Element | What to include |
|---|---|
| Cover sheet | Inventor names, invention title, contact details |
| Detailed description | Full explanation of how the invention works |
| Drawings or diagrams | Labeled visual representations of the invention |
| Abstract | Brief summary of the invention's purpose |
| Data sheet | USPTO filing fee information and inventor declaration |
Filing a vague or incomplete PPA is worse than it sounds. Incomplete provisional applications risk losing your priority date and can invalidate future claims. Detailed descriptions and accurate drawings are not optional. They are the legal foundation everything else rests on.
Within that 12-month window, you must file a non-provisional patent application to maintain your rights. Missing that deadline means your provisional expires and your patent pending status disappears. USPTO procedural deadlines are firm, and missing them does not come with a grace period based on how good your invention is.
Use the 12-month window wisely. Refine your prototype. Run market tests. Pitch to early investors. Gather feedback that could strengthen your non-provisional claims. The provisional period is not waiting time. It is your most productive window in the entire invention making process.
5. Developing a simple business plan and validating market readiness
Your invention does not become a business until you can explain who buys it, how money flows, and why it beats existing alternatives. A working invention business plan does not need to be a 40-page document. It needs to answer a focused set of questions clearly enough that a smart outsider could evaluate your opportunity.
Core components your plan should cover:
- Executive summary. One page that captures the problem, your solution, your target customer, and your revenue model.
- Market analysis. Size of the opportunity, key competitors, and your differentiation.
- IP status. Whether you have filed a provisional, a non-provisional, or have no patent yet, investors want to know where you stand.
- Financial projections. Three to five years of realistic revenue and expense estimates, with the assumptions that drive them stated clearly.
- Go-to-market approach. How will your first customers find you and buy from you?
The biggest trap inventors fall into at this stage is spending energy on branding and storytelling before the fundamentals are solid. Premature branding often produces beautiful presentations that do not generate profit because the product-market fit underneath was never confirmed.
Build your business plan around what the market is telling you right now, not around what you hoped the market would say when you first had your idea.
Think of your business plan as a working document, not a finished artifact. Every round of market testing should update at least one section of it. Investors are not just evaluating your idea. They are evaluating whether you understand your market well enough to adapt when reality pushes back.
My honest take on the DIY invention journey
I've watched inventors at every experience level run into the same wall: they fall in love with their solution before they truly understand the problem. The diy invention development steps outlined above are not bureaucratic checkpoints. They are the logic that keeps you from building the wrong thing beautifully.
In my experience, the inventors who succeed are not necessarily the ones with the best ideas. They are the ones who prototype fast, test early, and update their assumptions without ego. I've seen people spend eight months perfecting a product's aesthetic before a single customer had ever touched it. That is not caution. That is avoidance.
The provisional patent window is underused. Most inventors treat it like a formality. I'd treat it like a sprint. That 12-month runway is your best opportunity to gather real feedback without competitors copying your direction.
One more thing: your business plan will be wrong the first time you write it. That is normal. A flexible plan that gets updated every few months based on what you actually learn is more useful than a perfect plan written before you have tested anything. The inventor community around you can also surface blind spots that you would never catch working alone. Use it.
— Hua
Take your next step with Inventifystudios
You now have a clear structure for the invention making process, from writing your first documented idea through validating your market position. The hardest part is not knowing the steps. It is executing them without the right tools slowing you down.
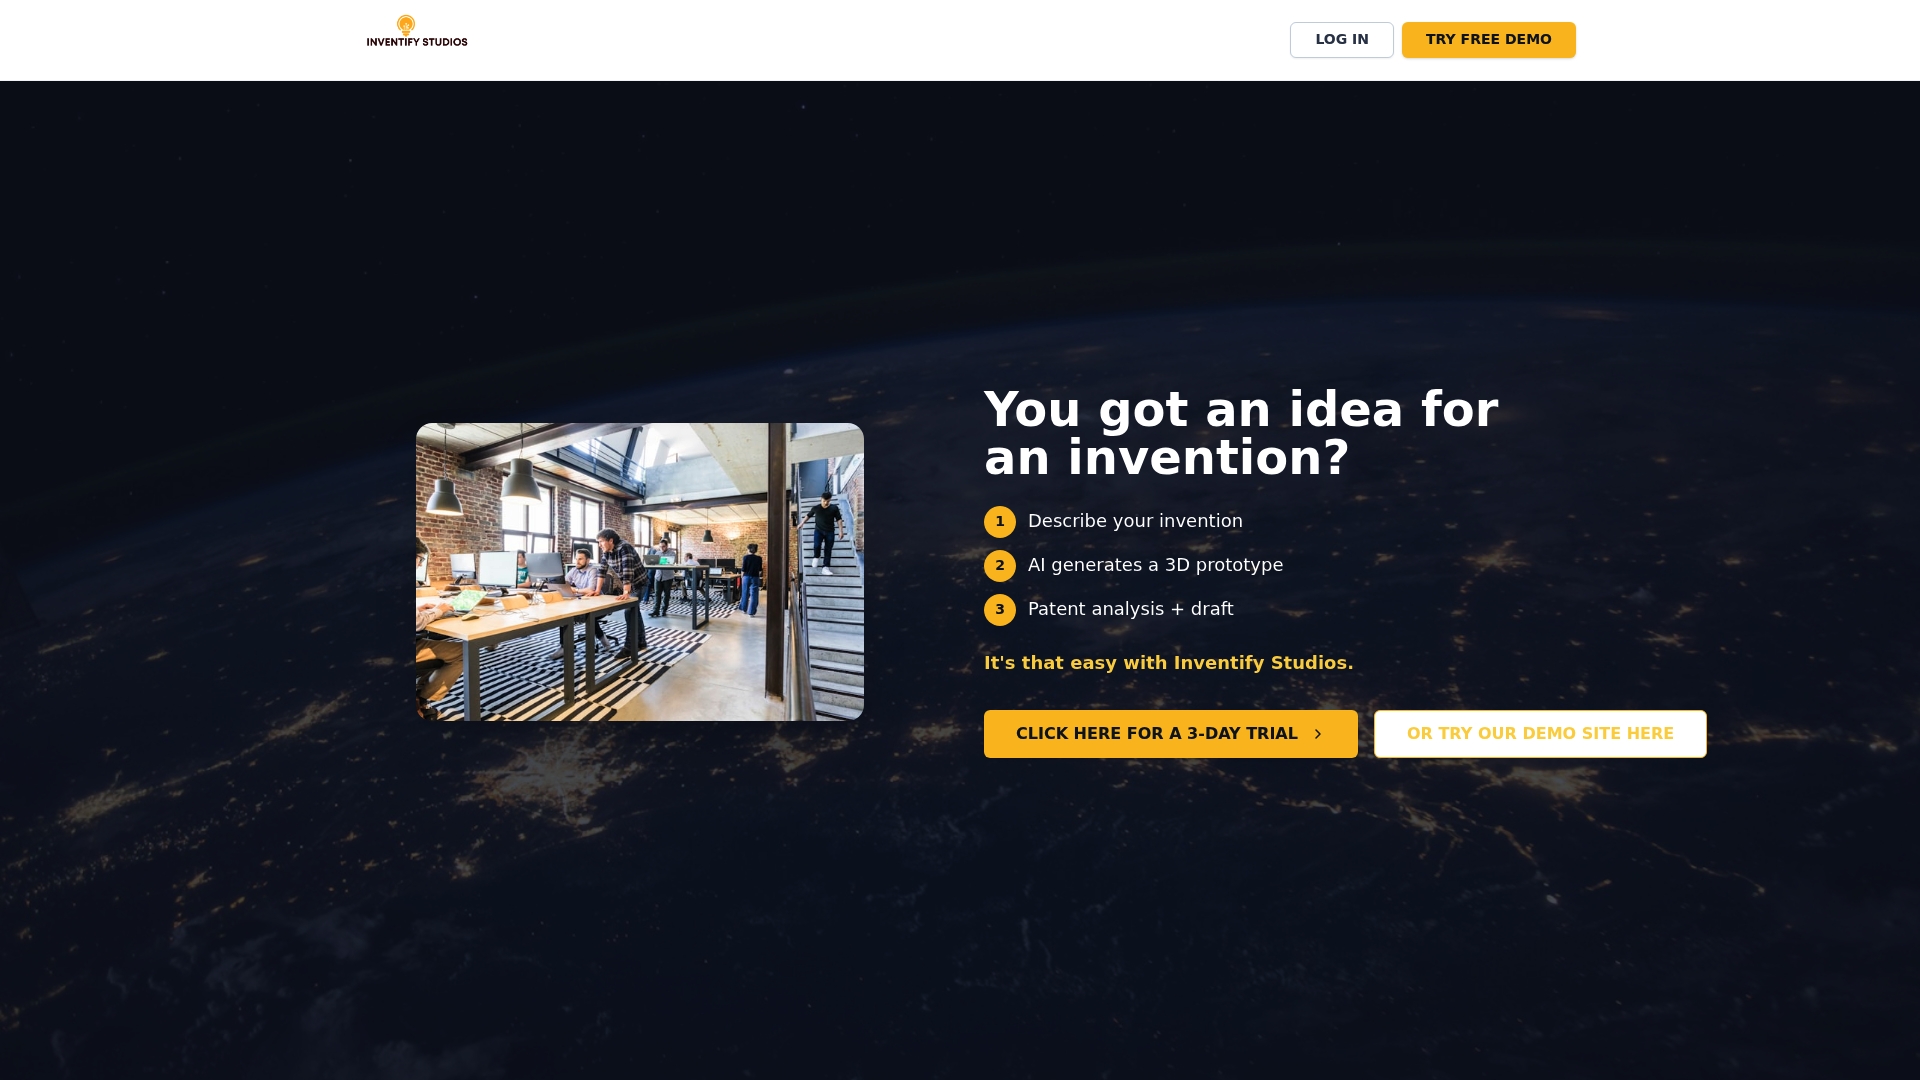
Inventifystudios was built specifically for inventors at this stage. The platform lets you create a 3D prototype from a written concept in minutes, analyze your invention's patentability without hiring a lawyer for an initial review, and generate provisional patent narratives tailored to your specific idea. You can also review past invention projects to see how other creators have moved from concept to product concept using the platform. The tools are affordable, accessible, and designed for inventors who are ready to move fast. Start building your idea today.
FAQ
What are the first DIY invention development steps?
Start by documenting your idea thoroughly, including the problem statement, proposed solution, and sketches. Then validate your concept through market and competitor research before touching a prototype.
How long does a provisional patent last?
A provisional patent application lasts 12 months from the filing date. You must file a non-provisional patent before that window closes or your patent pending status expires.
What should an early prototype include?
Your first prototype should test only the riskiest functional assumption of your invention using the cheapest materials available. Focus on whether your core mechanism works, not on how it looks.
Do I need a business plan before prototyping?
Not a finished one. Start with a basic understanding of your market and revenue model. Develop a formal plan once you have validated that the core problem and solution are real and viable.
Can I use AI to write my invention disclosure?
You can use AI as an editor to refine language, but you must write the core problem definition and solution yourself. Letting AI generate the substance of an invention disclosure can weaken your patent claims.