
Most inventors focus on the idea itself and treat documentation as an afterthought. That’s a costly mistake. The invention idea documentation steps you follow from day one directly shape whether your patent application succeeds or fails. Over 85% of first-time patent applications are rejected, largely due to poorly written claims and incomplete descriptions. This guide walks you through exactly how to document an invention the right way, from your first sketch to a patent-ready disclosure, so your idea gets the legal protection it deserves.
Table of Contents
Key takeaways
| Point | Details |
|---|---|
| Start documenting immediately | Capture your initial idea in writing the moment it forms, with a date and your signature. |
| Use the right tools from the start | Stitched notebooks, digital logs, and version control each serve different documentation needs. |
| Avoid vague descriptions | Every description must be detailed enough for a skilled person to replicate your invention. |
| Search prior art before filing | Documented patent searches strengthen your claims and reduce examiner rejections. |
| Treat documentation as ongoing | Your records should evolve with every prototype, test, and revision, not stop at the first draft. |
Tools and setup for invention documentation
Before you write a single word about your invention, you need the right setup. The documentation process for inventions is only as strong as the system behind it. Choosing the wrong tools, or using them inconsistently, creates gaps that can undermine your patent application later.
Physical vs. digital: what actually works
Physical inventor notebooks remain the gold standard for legal purposes. Use a stitched or bound notebook, never a spiral or loose-leaf binder. Pages should be numbered sequentially, and every entry should be written in indelible ink. Proper inventor notebooks require dated entries, consistent signatures, and secure copies to hold up as credible records.
Digital tools add speed and searchability. Options like Google Docs with version history, Notion, or dedicated invention management platforms let you track changes over time. For software or AI inventions, version control systems like Git provide timestamped logs of every modification, which serves as documentation in its own right.
Here is a quick comparison of your main options:
| Method | Best for | Key advantage | Key risk |
|---|---|---|---|
| Stitched notebook | All invention types | Legally credible, tamper-evident | Easy to lose or damage |
| Digital document (cloud) | Fast-moving ideas | Searchable, shareable | Requires access control |
| Version control (Git) | Software/AI inventions | Automatic timestamping | Technical setup required |
| Invention management platform | Multi-invention portfolios | Centralized tracking | Subscription cost |
Pro Tip: Whatever system you choose, make secure copies of your records at least once a week. A single backup failure can erase months of documented work.
Confidentiality matters from the start. Sharing your undocumented idea publicly before filing can destroy your patent rights in many countries. Keep your records private, use non-disclosure agreements when discussing the invention with others, and store digital files behind password protection.
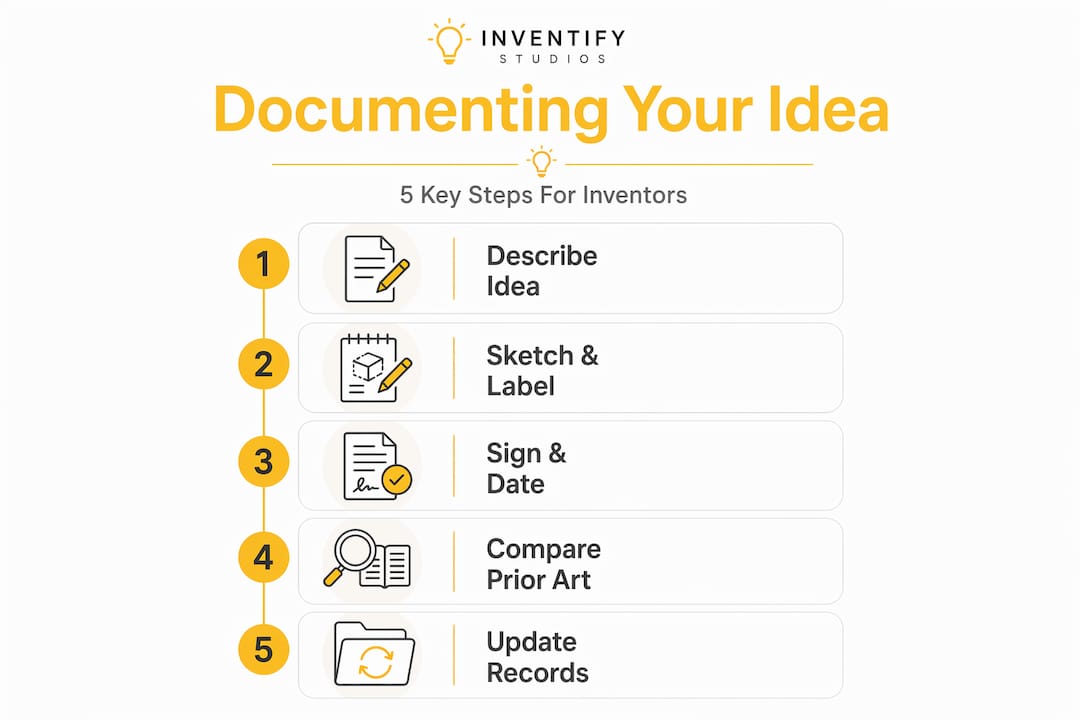
Step-by-step guide to documenting your invention
This is the core of the invention idea documentation steps process. Each step below builds on the last, creating a paper trail that is both technically thorough and legally defensible.
-
Capture the initial conception in writing. Write a full description of your idea on the day it occurs to you. Describe what the invention is, what problem it solves, and how it works. Sign and date the entry. This establishes your conception date, which matters if ownership is ever disputed.
-
Create detailed, dated sketches. Draw your invention from multiple angles: front, side, top, and an exploded view showing individual components. Label every part with reference numbers. These sketches do not need to be professional quality at this stage, but they must be clear enough for someone else to understand the structure.
-
Describe how it works, step by step. Write out the operating sequence as if you are explaining it to a skilled engineer who has never seen it. Include assembly instructions, materials, and any specific measurements or tolerances. Enabling descriptions allow a skilled person to replicate the invention without undue experimentation. Vague descriptions are one of the most common causes of rejection.
-
Complete an invention disclosure form. Structured forms outperform blank pages every time. Effective invention disclosure forms use focused, specific questions rather than generic text boxes, which forces you to articulate technical details you might otherwise skip. Cover the problem being solved, existing solutions and their shortcomings, what makes your approach different, and the preferred embodiment.
-
Document your reduction to practice. If you have built a prototype or run tests, record everything. Photograph the prototype at each stage. Log test results with dates, conditions, and outcomes. Note what failed and what you changed. This evidence of reduction to practice strengthens your application considerably.
-
Handle software and AI inventions with extra care. For these, document algorithm descriptions, training datasets, model versions, and the specific technical problem your system addresses. Subject Matter Eligibility Declarations can help overcome patent eligibility rejections under Section 101 by clarifying the technological improvement your software provides.
Pro Tip: Use your invention disclosure form as a living document. Update it every time you make a significant change to the design or discover a new use case. Courts and patent examiners both respond well to thorough, evolving records.
You can explore documented invention examples on Inventifystudios.com to see how complete disclosures are structured before you write your own.
Common documentation mistakes that kill patent applications
Even inventors who understand the importance of documentation frequently make errors that cost them time and money. Knowing these pitfalls before you file is far better than discovering them in an office action.
-
Vague technical descriptions. Writing “a device that improves efficiency” tells an examiner nothing. Every component, material, and mechanism must be named and described with enough detail that a skilled person in your field could build it from your description alone.
-
Poor quality drawings. Patent drawings must use black ink on white paper with reference numerals that link directly to your written description. Missing reference numbers, blurry scans, or incorrect formatting cause delays. Professional illustrators charge $100 to $300 per sheet, and most applications require 3 to 15 sheets depending on complexity.
-
Incorrect language in assignment agreements. This one trips up even experienced inventors. Use present tense in assignment agreements. Write “hereby assigns” rather than “agrees to assign.” The Stanford v. Roche case is a well-known example of how incorrect tense usage in assignment language created a serious ownership dispute that reached the Supreme Court.
-
Inconsistent terminology across documents. If you call a component a “valve” in your description and a “flow restrictor” in your claims, an examiner will question whether they are the same thing. Pick one term and use it everywhere.
-
Skipping professional review before filing. Many first-time inventors skip legal consultation to save money, then spend far more responding to office actions. A patent attorney review of your disclosure before filing is one of the highest-return investments you can make.
“Filing a patent application is safest when the core invention system is stable and fully described, not rushed prematurely.” — Inventor’s Notebook guidance
The invention idea checklist you use before filing should confirm that every component is named consistently, every drawing has reference numerals, every claim has a corresponding description, and your assignment documents use present-tense language.
Conducting patent searches and documenting your findings
A patent search is not optional. It is a core part of the documentation process for inventions, and skipping it is one of the fastest ways to have your application rejected. Patent attorneys spend 8 to 12 hours conducting worldwide prior art searches before filing. You should approach your own search with similar rigor.
Here is where to search and what each database covers:
| Database | Coverage | Best for |
|---|---|---|
| USPTO Patent Full-Text Database | US patents and published applications | Domestic prior art |
| Google Patents | US and international patents | Fast, broad searches |
| Espacenet (EPO) | European and worldwide patents | International prior art |
| WIPO PATENTSCOPE | PCT international applications | Global coverage |
Start with broad keyword searches, then narrow by classification codes. When you find relevant prior art, document it systematically. Record the patent number, title, filing date, and the specific features that overlap with your invention. Then write a clear explanation of how your invention differs from each reference.
Pro Tip: Create a prior art comparison table in your inventor notebook. List each prior art reference in one column and your invention’s distinguishing features in the next. This becomes a ready-made argument for your patent examiner and speeds up the review process.
Organized search records do more than protect you from rejection. They help you write stronger, more specific claims. When you know exactly what already exists, you can position your invention’s unique features with precision. You can also explore patent documentation best practices on Inventifystudios.com to sharpen your search strategy before you start.
My honest take on what actually matters in documentation
I’ve seen inventors with genuinely original ideas lose their patent applications not because their inventions were weak, but because their documentation was. The invention idea roadmap most people follow is too shallow. They capture the idea, maybe sketch it once, and assume the patent attorney will handle the rest. That’s not how it works.
In my experience, the inventors who succeed treat their inventor notebook like a legal document from day one. Not because they are paranoid, but because they understand that documentation is the only evidence of what they actually invented and when. The idea in your head is worthless without a dated, signed, technically complete record.
The uncomfortable truth is that most inventors rush documentation because they are excited about building. I get it. But filing when your description is technically clear, not when you are simply eager, produces far better outcomes. Documentation should evolve from initial idea through prototypes and testing, not stop at the first draft.
What I’ve learned is that simplicity and thoroughness are not opposites. The best disclosures I’ve seen are clear enough for a non-expert to follow and detailed enough for a patent examiner to approve. That balance takes effort. It also takes the mindset that documentation is not a bureaucratic hurdle. It is the foundation your entire patent stands on.
Tony
How Inventifystudios.com helps you document and protect your ideas
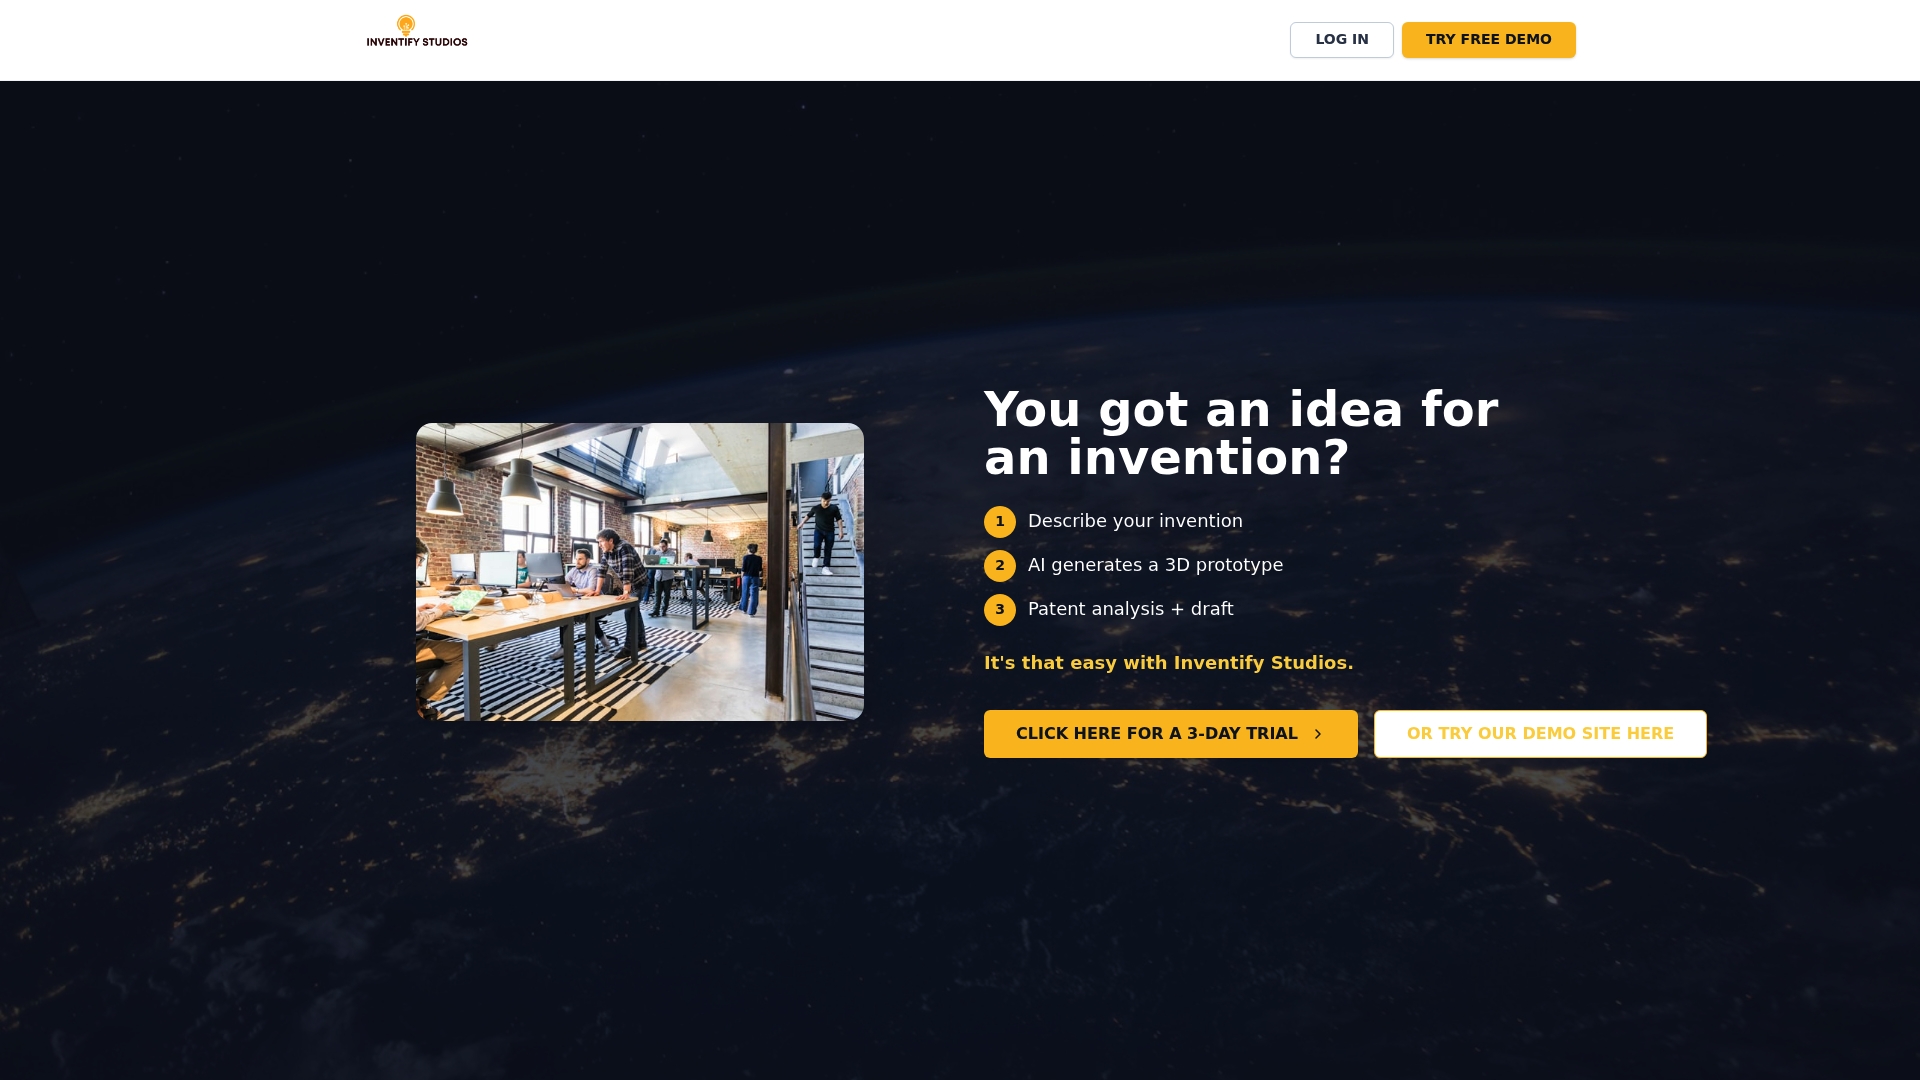
Inventifystudios.com is built for exactly the kind of work this article covers. The platform gives you structured tools to create your invention disclosure with guided prompts that walk you through every required element, from technical descriptions to component sketches. You get AI-generated 3D prototypes, patent analysis that flags gaps before you file, and provisional patent drafting insights tailored to your specific invention. Track your progress and manage multiple inventions through your invention portfolio. For aspiring inventors who want professional-grade documentation without the traditional consulting fees, Inventifystudios.com removes the barriers that stop most people from ever filing.
FAQ
What are the first invention idea documentation steps to take?
Write a detailed description of your invention on the day the idea forms, sign and date it, and store it in a stitched, numbered notebook or a secure digital log. This establishes your conception date and starts your legal record.
How do I document an invention for a patent application?
Your documentation should include a written description, dated sketches with reference numbers, an invention disclosure form, prototype records if available, and a prior art comparison. Every component must be named consistently across all documents.
Why is prior art search part of the documentation process?
Documenting prior art shows examiners you understand the existing field and helps you write claims that are specific to what is genuinely new about your invention, which reduces the risk of rejection.
What makes an invention description legally sufficient?
A legally sufficient description is one that allows a skilled person in your field to replicate the invention without guessing. Vague language, missing components, or untested claims are common reasons applications fail.
How much does a provisional patent application cost?
The USPTO provisional patent fee is $130 for small entities and $65 for micro entities as of 2026. Filing a provisional gives you a 12-month window to refine your invention before submitting the full application.