

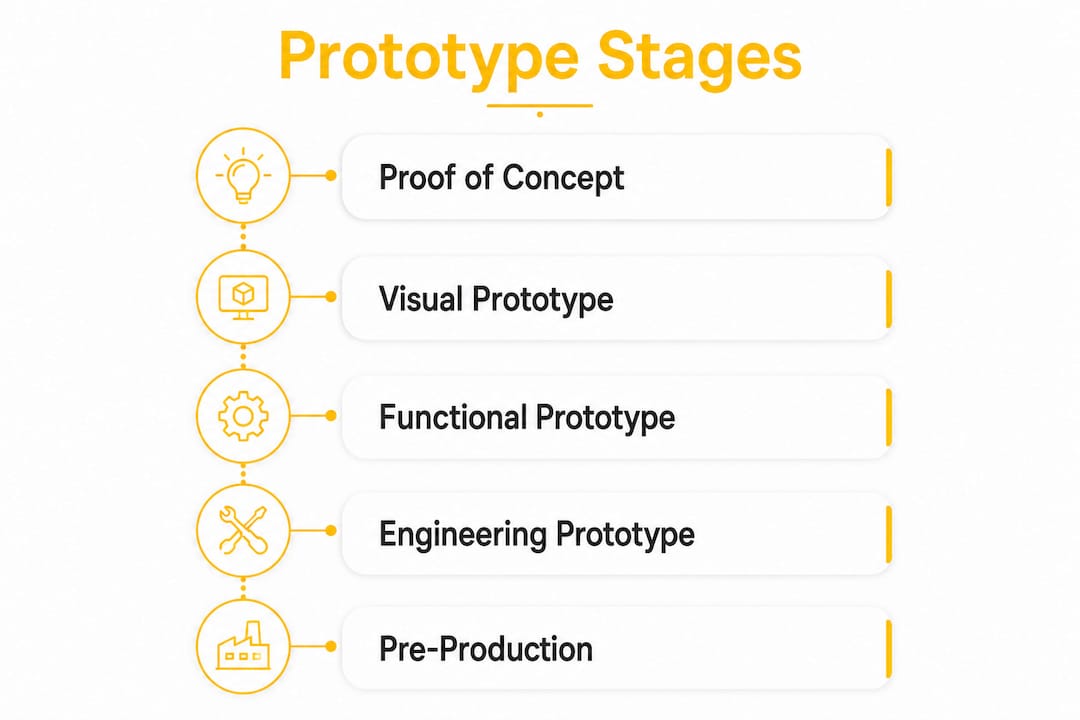
Product prototype stages are the sequential phases of building testable models that validate different aspects of a product idea before full-scale production. The industry standard framework covers five distinct phases: Proof of Concept, Visual prototype, Functional prototype, Engineering prototype, and Pre-Production prototype. Each stage answers a specific question, and skipping any one of them costs exponentially more to fix later. Inventifystudios is built around this exact logic, giving inventors the tools to move through each phase with clarity and confidence. Understanding prototype development from the start separates inventors who launch from those who stall.
What are the main stages of product prototyping?
Standard hardware prototyping follows five distinct stages, each designed to address a different category of risk. Treating them as one continuous build is the most common mistake first-time inventors make.
Stage 1: Proof of Concept
The Proof of Concept (POC) answers one question: "Can this work?" It tests technical feasibility using the simplest possible method, often a rough bench model or a basic circuit. No attention goes to appearance or manufacturability at this point. The goal is to confirm the core mechanism functions before spending money on anything else.
Stage 2: Visual prototype
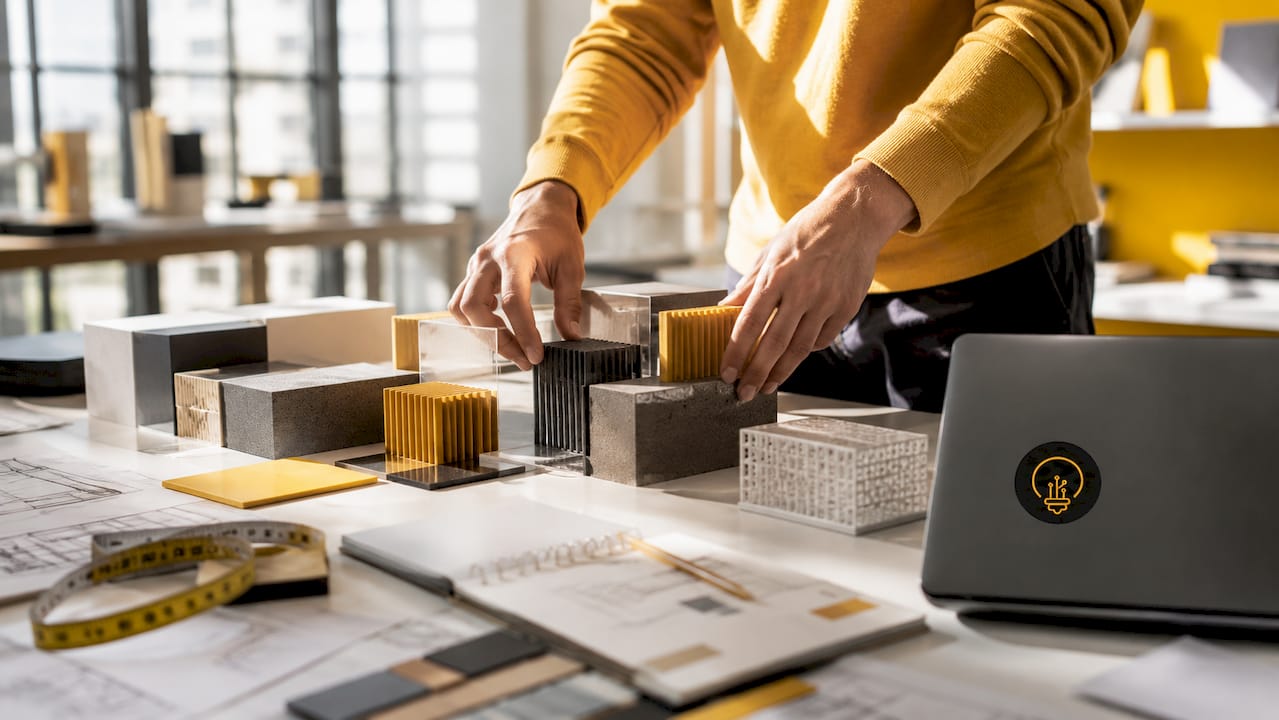
The Visual prototype answers: "Does it look right?" This model matches the intended size, shape, color, and surface finish of the final product. It does not need to function. Industrial designers use this stage to gather feedback on aesthetics and ergonomics from real users before committing to tooling.
Stage 3: Functional prototype
The Functional prototype answers: "Does it actually work?" This is where mechanics, electronics, and software come together in a working model. It may not look like the final product, but it performs like one. Skipping this stage causes 5–10 times higher costs later due to expensive tooling changes and design rework.
Stage 4: Engineering prototype (EVT/DVT)
Engineering Verification Testing (EVT) and Design Verification Testing (DVT) answer: "Can this be reliably produced?" These prototypes use production-intent materials and processes. Engineers validate tolerances, assembly sequences, and component sourcing. Engineering prototypes require tight tolerances of ±0.01–0.02 mm for manufacturability validation. That level of precision determines whether a design can survive a factory floor.
Stage 5: Pre-Production prototype
The Pre-Production prototype answers: "Can we produce this at scale?" Pilot runs of 50–500 units test yield rates, cycle times, and operator workflows. This stage validates the supply chain and manufacturing process before a full production ramp. Passing it means you are ready to manufacture.
| Stage | Core question | Primary risk addressed |
|---|---|---|
| Proof of Concept | Can this work? | Technical feasibility |
| Visual prototype | Does it look right? | Aesthetic and ergonomic fit |
| Functional prototype | Does it actually work? | Performance and assembly |
| Engineering prototype | Can it be reliably produced? | Manufacturability and tolerances |
| Pre-Production prototype | Can we scale this? | Supply chain and process readiness |
How do fidelity levels and methods vary across stages?
Fidelity refers to how closely a prototype resembles the final product. Matching fidelity to the right stage is as important as the stage itself. UX experts emphasize fidelity matching to validation goals to maximize prototype effectiveness. Using the wrong fidelity at the wrong stage produces unreliable results and wastes budget.
Low-fidelity prototypes cover sketches, foam models, and paper mockups. They are fast and cheap, making them ideal for early ideation and POC work. The goal is speed, not accuracy.
Medium-fidelity prototypes include wireframes, semi-functional models, and 3D-printed shells. They validate user flow, basic ergonomics, and initial performance. This range covers the Visual and early Functional stages.
High-fidelity prototypes are realistic, interactive models that simulate the final product closely. They belong in the Engineering and Pre-Production stages, where precision matters.
Manufacturing methods also align to specific stages:
- 3D printing: Best for POC and Visual stages. Fast iteration, low cost, limited material accuracy.
- CNC machining: Best for Functional and early Engineering stages. Accurate geometry and real material properties.
- Vacuum casting: Best for pilot Visual and Functional runs. Produces near-production-quality parts in small quantities.
- Injection molding: Reserved for Pre-Production. High upfront cost, but validates the actual production process.
A common trap is using injection molding too early before the design is locked. Tooling changes at that stage cost tens of thousands of dollars. Align your method to your current validation question, not your end goal.
Pro Tip: Before choosing a prototyping method, write down the single question you need to answer. If the method cannot answer that question, it is the wrong method for that stage.
Why is iterative prototyping critical?
Iterative prototyping means building, testing, learning, and repeating. It is not a sign of failure. It is the process. Teams typically conduct 3–5 iterations per major feature before committing to final engineering investment. Each round narrows uncertainty and builds validated confidence.
Early iterations should be fast and cheap. A foam model that takes two hours to build and costs $10 in materials can answer a question that would otherwise require a $5,000 CNC part. The goal in early stages is to fail fast and cheaply, not to build something impressive.
Later iterations shift toward higher fidelity as the design stabilizes. By the Engineering prototype stage, iterations focus on tolerance refinement and component sourcing rather than concept validation. The questions get narrower, and the stakes get higher.
- Define the question. Every iteration starts with one specific question to answer.
- Build the minimum prototype needed. Use the lowest fidelity that can answer the question.
- Test with real conditions or real users. Controlled testing produces reliable data.
- Document findings immediately. Decisions made without documentation get repeated.
- Revise and repeat. Carry forward only what the test confirmed.
Jumping straight to a Functional or Engineering prototype without completing earlier rounds is a budget risk. Iterative prototyping prevents over-investing in unvalidated designs. The cost of one extra iteration is always lower than the cost of a wrong tooling decision.
Pro Tip: Track every iteration in a simple log: date, question asked, method used, result, and next action. This log becomes your product's development history and is useful for patent documentation.
For inventors exploring open source prototyping tools, digital tools can accelerate early iterations significantly before any physical build begins.
Common prototyping mistakes and how to avoid them
Most prototyping failures come from one root cause: using the wrong prototype for the wrong question. Misunderstanding the validation purpose of each stage leads to delays and wasted resources. The fix is discipline, not more budget.
-
Skipping the Functional prototype. This is the costliest single mistake. Inventors often jump from a POC directly to Engineering prototypes, assuming the concept works well enough. Functional prototypes catch assembly problems, interference issues, and performance gaps before expensive tooling is involved.
-
Confusing POC with MVP. A Proof of Concept proves technical feasibility. A Minimum Viable Product (MVP) validates market readiness and user acceptance. POC and MVP serve fundamentally different purposes. Treating a working POC as market validation leads to launching products users do not want.
-
Using high-fidelity prototypes too early. Building a polished, production-like model before the core function is validated wastes time and money. "Fidelity mismatch" produces unreliable test results because the prototype answers questions you have not reached yet.
-
Neglecting tolerances during Engineering prototypes. Designs that look correct on screen often fail when manufactured. Engineering prototypes must use production-intent materials and real assembly sequences to catch tolerance stack-up issues.
-
Ignoring supply chain readiness. A product that works in a lab but cannot be sourced or assembled consistently at scale is not ready for market. Pre-Production prototyping exists specifically to surface these problems before launch.
Pro Tip: At each stage, ask: "What would make me stop this project?" If you cannot answer that, you do not have a clear enough validation question.
Reviewing invention validation steps before you begin prototyping helps you set clear go/no-go criteria for each stage.
Key Takeaways
Disciplined, stage-by-stage prototyping is the most cost-effective path from idea to production-ready product, because each stage answers a specific question that the next stage depends on.
| Point | Details |
|---|---|
| Five distinct stages | POC, Visual, Functional, Engineering, and Pre-Production each address a different risk category. |
| Match fidelity to the question | Use low-fidelity early and high-fidelity late; mismatching wastes budget and produces bad data. |
| Iterate 3–5 times per feature | Multiple rounds per major feature prevent over-investment in unvalidated designs. |
| Never skip Functional prototyping | Skipping it causes 5–10 times higher costs from tooling rework later in development. |
| POC and MVP are not the same | POC proves feasibility; MVP proves market fit. Confusing them leads to launch failures. |
Why I think most inventors prototype in the wrong order
Most inventors I have seen work with prototype in reverse. They build something impressive first and validate the concept second. That instinct is understandable. A polished model feels like progress. But it is the most expensive way to learn that your core assumption was wrong.
The discipline of prototyping is really the discipline of asking better questions earlier. A rough foam block that answers "does this fit in a user's hand?" is worth more at week one than a CNC-machined part that looks perfect but was built before you confirmed the mechanism works. The stage framework exists because each question unlocks the next one. You cannot reliably validate manufacturability before you have validated function.
What I find most useful about the five-stage model is that it gives inventors permission to build something ugly. Early prototypes are not supposed to impress anyone. They are supposed to teach you something specific. Inventifystudios is built on this principle, giving inventors AI-powered tools to generate 3D prototype concepts and assess patentability before committing to physical builds. That kind of early-stage clarity is exactly what the POC and Visual stages are designed to produce.
The inventors who move fastest are not the ones with the biggest budgets. They are the ones who ask the sharpest questions at each stage and build only what is needed to answer them.
— Hua
How Inventifystudios supports every prototype stage
Inventifystudios gives inventors a structured path through every phase of the prototype creation process, from early concept to production-ready design.
The platform's AI prototype generator produces 3D concept models in minutes, giving inventors a visual starting point before any physical build. Patent analysis tools run alongside prototype development, so you know your concept's IP position at the POC stage rather than after tooling costs are committed. For inventors ready to go deeper, the invention development services at Inventifystudios cover validation, prototype planning, and patent-ready documentation across all five stages. You get expert guidance without the consulting fees that typically price out first-time inventors.
FAQ
What are the five product prototype stages?
The five stages are Proof of Concept, Visual prototype, Functional prototype, Engineering prototype, and Pre-Production prototype. Each stage answers a specific validation question before the next stage begins.
How many prototyping iterations should I expect?
Teams typically conduct 3–5 iterations per major feature, moving from low-fidelity to high-fidelity as the design stabilizes. More iterations early reduce costly changes later.
What is the difference between a POC and an MVP?
A Proof of Concept proves that a technology or mechanism can work. An MVP validates whether real users want the product. Confusing the two leads to launching products that function but do not sell.
When should I use 3D printing versus CNC machining?
Use 3D printing for POC and Visual stages where speed and low cost matter most. Switch to CNC machining at the Functional stage when accurate geometry and real material properties are needed for reliable testing.
Why is the Functional prototype stage so critical?
Skipping the Functional prototype stage causes 5–10 times higher costs later because design flaws surface only after expensive tooling has been committed. This stage catches assembly and performance problems at the lowest possible cost.